1. On-Site Service Response Process
1. Customer Repair Request and Preliminary Diagnosis
– Upon receiving customer feedback, quickly understand the fault symptoms via phone/video (such as reduced impact force, oil leakage, abnormal noise), while collecting information on equipment model, usage duration, and working environment to anticipate possible causes.
– Guide customers to perform basic self-inspection first (such as checking hydraulic oil level, pipeline connections, and drill rod wear) to preliminarily rule out human operation errors or simple loose parts.
2. Service Resource Deployment
– In key markets (such as Southeast Asia and the Middle East), commit to engineers arriving on-site within 72 hours. For remote areas, coordinate with local partner service providers to dispatch within 48 hours, keeping customers updated throughout the process.
– Before departure, prepare relevant spare parts (seals, drill rod liners, bolts), testing tools (pressure gauges, torque wrenches, flaw detectors), and repair manuals for the specific model.
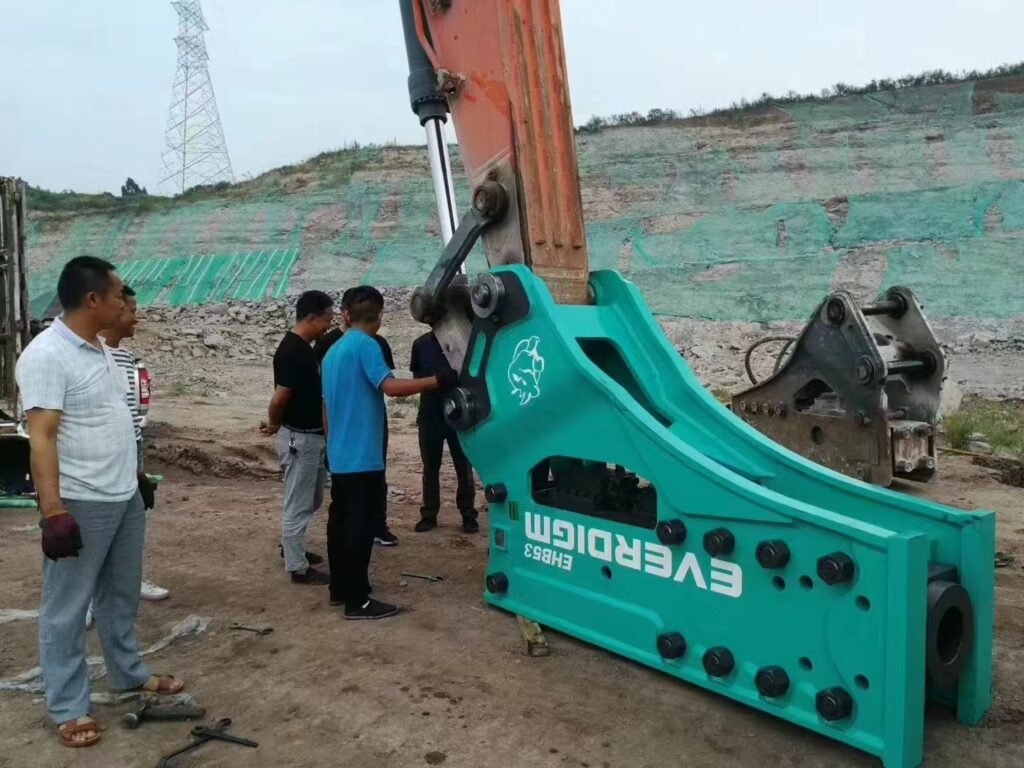
3. On-Site Arrival and Standardized Operation
– Upon arrival, first confirm fault details with the customer’s on-site representative, set up safety warning signs, shut down excavator power, and release hydraulic system pressure.
– Follow the principle of ‘external first, then internal; inspection first, then disassembly’ to troubleshoot, avoiding blind disassembly that could cause secondary damage.
II. Common On-Site Troubleshooting Solutions
Table
Fault Phenomenon | On-Site Inspection Steps | Quick Fix Measures | Notes
— | — | — | —
Weak Striking | 1. Measure hydraulic oil pressure with a pressure gauge (standard 14-18MPa) 2. Check if the pipeline is blocked or the filter element is dirty 3. Test the clearance between the piston and cylinder | 1. Adjust the excavator overflow valve if the pressure is insufficient 2. Replace the clogged filter element and flush the pipeline 3. If clearance exceeds standard, replace piston/cylinder seals | Do not operate under abnormal pressure to avoid damaging the hydraulic pump
Oil Leakage | 1. Check whether external pipeline joints or O-rings are damaged 2. Disassemble the cylinder end cap to check if the internal oil seal is aged 3. Inspect the cylinder for cracks | 1. Replace damaged external seals and tighten joints with a torque wrench 2. For internal leaks, replace the full set of oil seals and apply special lubricating grease 3. Weld the cylinder on-site or return to the factory if cracked | Clean the installation surfaces when replacing seals; prevent dirt and sand from entering
Abnormal Noise / Hammer Stuck | 1. Check if the drill rod is bent or the bushing is worn 2. Observe whether the piston movement is stuck or if there are foreign objects inside the cylinder 3. Check nitrogen pressure (standard 1.5-2.5MPa) | 1. Replace bent drill rod or worn bushing 2. Disassemble the cylinder to clean debris and realign the piston and drill rod 3. Add or release nitrogen to reach standard pressure | Do not hammer forcefully if the tool is stuck to prevent piston breakage
High-Frequency Continuous Strike / No Striking | 1. Check whether the directional valve is stuck or if the control line is leaking 2. Test whether the hydraulic flow is matched 3. Check accumulator pressure | 1. Disassemble the directional valve, clean the valve core, and replace aged springs 2. Adjust excavator flow to match the equipment 3. If the accumulator fails, replace the charging valve or the accumulator | After adjusting flow, test striking frequency to ensure it is 600-1200 times/min
III. On-Site Service Delivery Standards
1. Maintenance Acceptance
– Perform a no-load test (10–15 minutes) after repairs to ensure impact force and frequency are normal, with no oil leaks or abnormal noises; conduct a 30-minute loaded operation to verify stability.
– Issue a “On-Site Maintenance Report” to the customer, recording the cause of the fault, replaced parts, labor hours, and subsequent maintenance recommendations.
2. Customer Training
– Demonstrate correct operating procedures on-site (e.g., prohibit dry hitting, single impact duration ≤30 seconds) and explain key daily inspection points (chisel lubrication, bolt torque checks).
– Provide the “Used Hydraulic Hammer Maintenance Manual,” indicating key maintenance points and replacement cycles for parts.
3. After-Sales Follow-Up
– Conduct follow-ups at 3, 7, and 30 days after maintenance to track equipment status, collect customer feedback, and optimize service processes.
4. Exclusive Service Support for Used Equipment
– Parts Assurance: For commonly worn parts of used breakers (seals, chisels, nitrogen valves), establish parts transit warehouses in key markets to ensure delivery within 24 hours.
– Extended Warranty Service: Provide 3-6 months warranty on core components, with the option to extend to 12 months for a fee, including one free inspection service.
– Refurbishment and Upgrade: Conduct on-site assessment of equipment wear and provide low-cost refurbishment solutions (such as cylinder repair, piston hard chrome plating) to extend equipment lifespan.
I can help you organize this plan into an on-site service form template, making it easier for engineers to fill out and archive each time they visit. Do you need this?